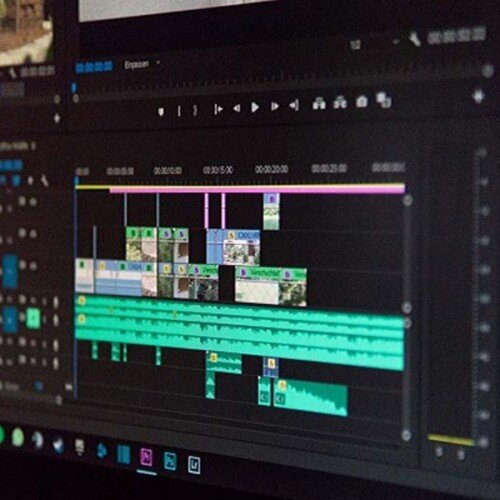
Video Editing
Master industry-leading software to cut, color grade, and mix audio like a pro. Whether for film, YouTube, or social media, learn the techniques to engage your audience and create seamless visual narratives. Elevate your editing skills today.
Edit Videos like a Pro in 4 Weeks!
With the growth of digital video editing not just in Lagos but beyond Nigeria over the last few years, professional editing has become a must-have technology for any growing company or individual. Our video editing course with Adobe Premiere Pro covers all the fundamental and comprehensive methods, tools and techniques enabling you to get your message across fast with maximum impact using powerful, flexible editing capabilities.
This hands-on Adobe Premiere Pro training course will teach you to perform essential video editing functions, titles, and video and audio effects to a professional standard using Adobe Premiere Pro’s powerful advanced features. This Adobe Premiere Pro training course covers video hints and tips, project management issues and compression methods that can make all the difference to your final video production. You will work with dramatic real-world media to learn the practical techniques used daily in editing projects.
Course Outline
Week 1: The Foundation – The Cut & The Story
Topic A: Setup & Workflow
- The Editor’s Mindset: Storytelling 101 – “Why are we cutting here?”
- Interface Tour: Source Monitor, Program Monitor, Timeline, and Project Panel.
- Project Management: The “Folder Structure” rule (Footage, Audio, Graphics, Exports). Avoiding the “Media Offline” error.
- Ingest: Importing footage correctly and creating Proxies for smooth playback on slower laptops.
Topic B: The Rough Cut
- Reviewing Footage: Using “Hover Scrub” and marking In (I) and Out (O) points.
- The Timeline: Insert (.) vs. Overwrite (,) edits.
- Basic Tools: Selection Tool (V), Razor Tool (C), and Track Select Forward (A).
- The Assembly: Dragging clips to the timeline to build the skeleton of the story.
Topic C: Refining the Edit
- Trimming: Ripple Edit (B) vs. Rolling Edit (N). Why you should rarely just “delete” empty space.
- Pacing: Cutting on action to make edits feel seamless.
- Exporting a Draft: Using “Quick Export” to share a low-res review copy.
Week 2: Audio, Titles & Transitions
Topic A: Sound Design & Mixing
- Audio Levels: Understanding Decibels (dB). Why dialogue should hit -6dB to -12dB.
- Keyframing Audio: Using the Pen Tool to fade music down when people speak (“Ducking”).
- Audio Transitions: Constant Power vs. Constant Gain.
- Essential Sound Panel: Using the “Dialogue” tag to auto-fix noisy audio (DeNoise, DeReverb).
Topic B: The Art of the Transition
- Hard Cuts: Why the simple cut is the most powerful tool.
- Standard Transitions: Cross Dissolve and Dip to Black (When to use them vs. when they look amateur).
- J-Cuts & L-Cuts: Detaching audio from video to create smooth, professional dialogue flow.
Topic C: Graphics & Titles
- Essential Graphics Panel: Creating text overlays, lower thirds, and end cards.
- Safe Margins: Ensuring text doesn’t get cut off on mobile screens.
- Motion Graphics Templates (MOGRTs): Installing and customizing free animated titles.
Week 3: Colour, Speed & Style
Topic A: Colour Correction vs. Grading
- Lumetri Colour Panel: Reading the Scopes (Waveform & Vectorscope).
- Correction: Fixing White Balance (Temperature/Tint) and Exposure (Highlights/Shadows) so clips match.
- Grading: Using “Creative Looks” (LUTs) to give the video a specific mood (Cinematic, Warm, Cold).
Topic B: Speed Ramping & Motion
- Time Remapping: Creating slow-motion (50%) or fast-forward sequences properly.
- Frame Rates: Why 60fps is needed for good slow motion.
- Keyframing Motion: The “Ken Burns” effect (slow zoom in) on static photos to make them dynamic.
Topic C: B-Roll Strategy
- Covering the Cut: Using B-Roll (footage of objects/scenery) to hide jump cuts in an interview.
- Stabilisation: Using the “Warp Stabiliser” effect to fix shaky handheld footage.
Week 4: AI Workflow, Social & Final Sprint
Topic A: Innovative AI Workflow (Using Gemini)
- The AI Producer: Using Gemini to generate interview questions, video scripts, or shot lists before editing.
- Prompt Example: “Create a shot list for a 30-second coffee shop commercial.”
- AI for B-Roll: Using Gemini to suggest B-roll ideas based on the script text.
- Problem Solving: Pasting Premiere Pro error codes into Gemini for instant troubleshooting.
Topic B: Formatting for Social Media
- Auto Reframe: Using Premiere’s built-in AI to automatically convert horizontal (16:9) video to vertical (9:16) for TikTok without losing the subject.
- Captions: Using the “Text-to-Captions” feature to auto-generate subtitles for social videos.
Topic C: Final Export & Delivery
- Export Settings: Understanding H.264 (MP4) vs. H.265 (HEVC).
- Bitrate: High bitrate for YouTube vs. Medium bitrate for WhatsApp/Email.
- Media Encoder: Queueing multiple exports at once.
Mentorship
Portfolio review and career guidance.
- Portfolio Review: One-on-one critique of the student’s editing reel.
- Career Advice: “Editor vs. Colourist” – finding your niche. How to charge per day vs. per project.
- Freelance Platforms: Setting up a profile on Upwork/Fiverr.


