Visual Effects
Create breathtaking visual effects with our intensive 8-week introduction to VFX. Master industry-standard compositing, 3D integration, and particle effects to craft seamless cinematic scenes that defy belief.
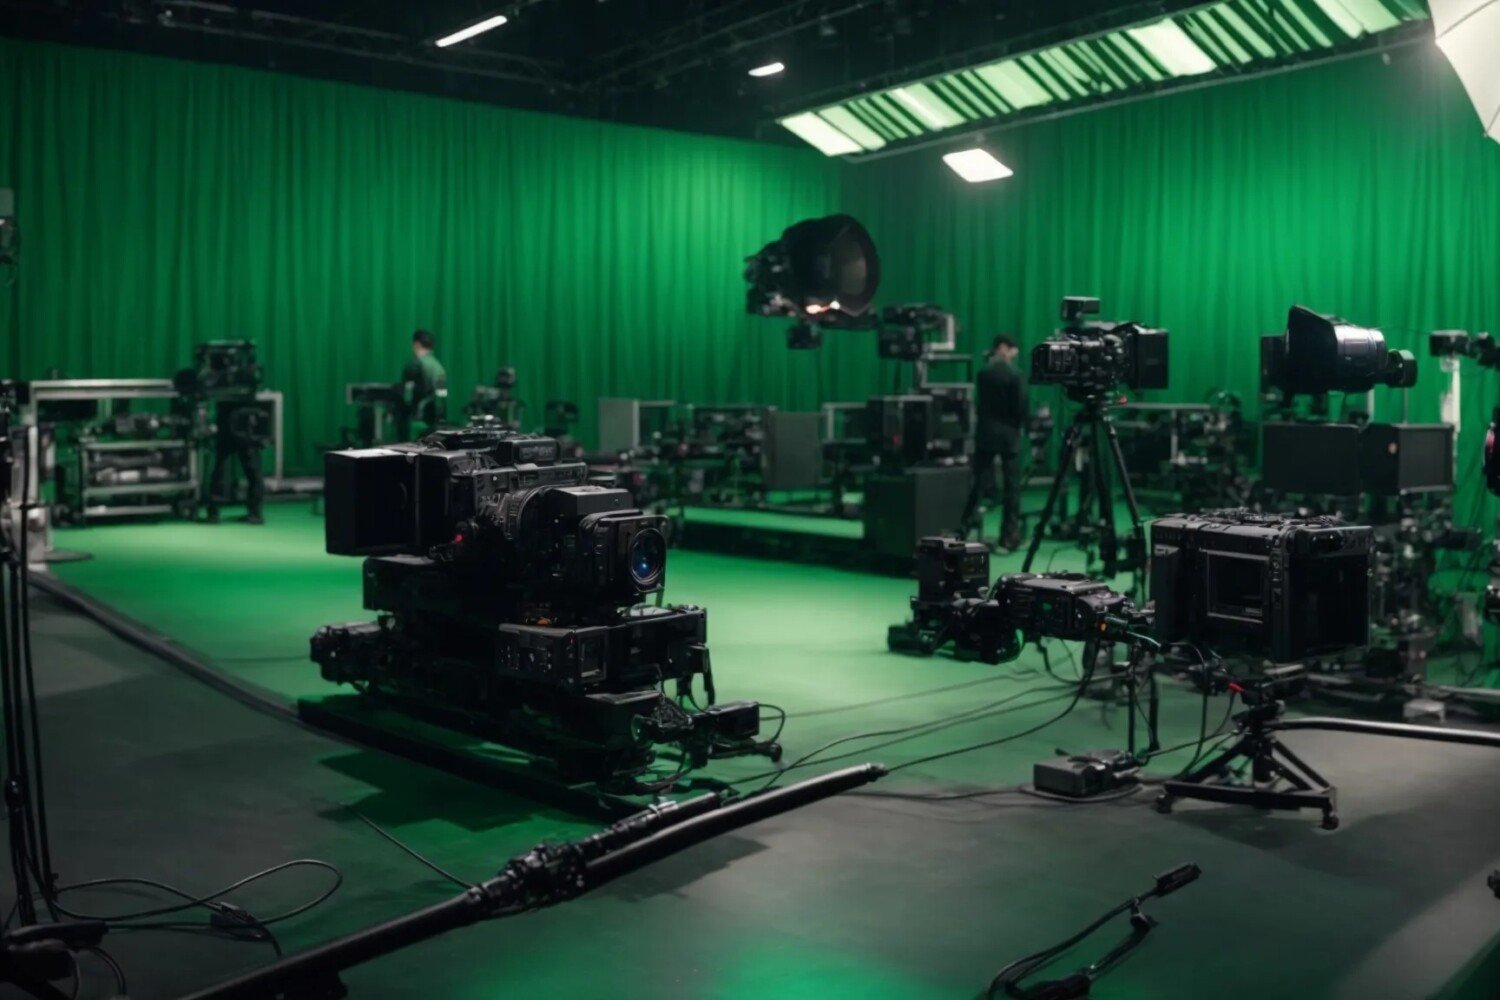

Create your first visual effects in our intensive 8-week course
Designed for aspiring VFX artists, this comprehensive eight-week course on Seed LMS guides you step-by-step through Adobe After Effects and modern AI workflows. You will develop the essential skills of seamless compositing, precise rotoscoping, chroma keying, motion tracking, and particle simulation while building a professional post-production pipeline. Beyond the core eight weeks, you’ll receive two full months of free, one-on-one mentorship to polish your final composites, troubleshoot your effects in real-time, and confidently build your VFX portfolio. Choose from our curated pool of 10 exciting visual effects briefs, refine your skills, and graduate with high-quality, photorealistic shots.
Course Outline
Week 1: The Foundation – Compositing & Layers
Topic A: VFX Theory & Interface
- The Pipeline: Pre-production -> Production -> Post-production. Where VFX fits in.
- Interface Tour: Project Panel, Composition Panel, Timeline, and Layer Controls.
- Digital Video Basics: Resolution (HD/4K), Frame Rates, and Alpha Channels (Transparency).
Topic B: Basic Compositing
- Layers: Understanding stacking order (What’s on top covers what’s below).
- Blending Modes: Screen (removes black), Multiply (removes white), Overlay (blends).
- Transform Properties: Position, Scale, Rotation, Opacity.
Topic C: The “Invisible” Fix
- Clean Plates: The concept of removing unwanted objects.
- Clone Stamp Tool: Painting out wires or boom mics manually.
Week 2: Masking & Rotoscoping
Topic A: Masking Basics
- The Pen Tool: Drawing precise shapes to cut objects out.
- Mask Properties: Feather, Expansion, and Opacity.
- Garbage Mattes: Loosely cutting out unwanted areas before refining.
Topic B: Rotoscoping (The Hard Way vs. The Smart Way)
- Manual Roto: Animating a mask path frame-by-frame (The traditional skill).
- Roto Brush 2.0: Using AI-assisted tools to isolate subjects quickly.
- Refining the Edge: Using “Refine Edge” for hair and fuzzy details.
Topic C: Track Mattes
- Alpha Matte: Using one layer’s shape to reveal another.
- Text Reveal: Making text appear from behind a building or person.
Week 3: Chroma Keying (Green Screen)
Topic A: Keying Theory
- Why Green? Understanding digital sensors and skin tones.
- Lighting: How to spot a “bad” green screen shot (uneven lighting, shadows).
Topic B: Keylight 1.2 (The Industry Standard)
- Screen Colour: Selecting the right green.
- Screen Matte: Viewing the black-and-white alpha to check for holes.
- Clip Black/Clip White: Cleaning up the background and the subject.
Topic C: Spill Suppression & Edge Cleanup
- Despill: Removing the green reflection from the actor’s skin/hair.
- Light Wrap: Blending the background light onto the subject’s edges for realism.
Week 4: Motion Tracking (2D)
Topic A: Point Tracking
- One-Point Track: Tracking position only (e.g., a lens flare on a torch).
- Two-Point Track: Tracking position, rotation, and scale.
- The Tracker Panel: Setting the Search Region and Feature Region.
Topic B: Planar Tracking (Mocha AE)
- Introduction to Mocha: Why it’s better than point tracking for screens.
- Surface Tool: Defining the perspective plane (The corner pin).
Topic C: Corner Pinning
- Screen Replacement: Replacing a phone or TV screen with new footage.
- Reflections: Adding fake reflections back onto the new screen for realism.
Week 5: 3D Camera Tracking
Topic A: The 3D Camera Tracker
- Solving: How AE calculates 3D space from 2D video.
- Target Size & Shot Type: Improving the track by telling AE the angle of view.
- Track Points: Identifying the “Ground Plane” and “Wall Plane”.
Topic B: Placing Objects
- Nulls & Cameras: creating a reference null to attach objects to.
- Text in Space: Making giant text stand on the floor of a street scene.
Topic C: Shadow Catchers
- Realism: Creating an invisible layer that only catches shadows to ground the object.
Week 6: Particles & Simulation
Topic A: CC Particle World
- Physics: Gravity, Velocity, and Resistance.
- Particle Types: Shaded Spheres, Textured Quads (using custom images as particles).
Topic B: Simulation Basics
- Weather: Creating Rain or Snow.
- Debris: adding dust hits or sparks to an impact.
Topic C: Procedural Effects
- Fractal Noise: The “God of VFX”. Creating fog, energy fields, and water textures.
- Saber (Free Plugin): Creating energy beams and lightsabers (Optional but recommended).
Week 7: Colour Grading & Integration
Topic A: Colour Matching
- Black & White Points: Matching the darkest shadows and brightest highlights of the VFX to the background plate.
- Levels & Curves: Essential tools for contrast matching.
Topic B: Optical Effects
- Grain Management: Adding film grain to clean CGI elements to match grainy video.
- Lens Artifacts: Adding Chromatic Aberration, Lens Flares, and Motion Blur.
Topic C: Lumetri Colour for VFX
- The “Look”: Applying a final grade over the entire composition to glue it together.
Week 8: AI Workflow & Final Sprint
Topic A: Innovative AI Workflow (Using Gemini)
- Expression Assistance: Using Gemini to write complex Expressions (code) for After Effects.
- Prompt Example: “Write an After Effects expression to make a layer wiggle its position only on the X-axis, synced to the bass of an audio track.”
- VFX Breakdown Planning: Pasting a script into Gemini to generate a “Shot List” of required VFX assets.
- Prompt Example: “Break down this scene: ‘A man shoots a fireball from his hand.’ List the VFX layers I need (e.g., interactive light, heat distortion, debris).”
- Troubleshooting: Pasting error codes into Gemini for instant fixes.
Topic B: Rendering & Delivery
- Render Queue: Best settings for high-quality masters (ProRes/DNxHR).
- Media Encoder: Exporting H.264/H.265 for web delivery.
Mentorship & Portfolio Polish
After eight weeks of core instruction, students enter a free 2-month mentorship delivered online via Discord. This phase shifts the focus from learning new tools to applying them to industry standards.
- Project Polish & Portfolio Building: Finish or redo your 2 required projects. High-quality submissions ensure better scores and a stronger portfolio.
- Weekly 1-on-1 Sessions: Each student is assigned a dedicated mentor for a personalised 30 to 60-minute weekly guidance session.
- Open File Reviews: Present open project files via live screen sharing for direct mentor critiques and feedback.
- Live Debugging: Join dedicated livestreams where instructors actively troubleshoot settings and fix your project errors in real-time.
- Final Premiere: Submit your fully rendered images or video for the Virtual Viewing Party to watch and critique final reels with the class.
- Certification & Next Steps: Complete the course evaluation and submit all final polished projects to finalise grading and unlock your Certificate of Completion.
What’s Inside?

1-on-1 Mentorship
One full month of dedicated expert guidance tailored to your specific goals.

Seed LMS Access
Lifetime access to the Student Portal, hosting all your modules and resources.

Weekly Interactive Quizzes
Test your skills and track progress with gamified assignments and feedback.

Official Certification
Validate your expertise with a digital certificate recognized by industry leaders.
What You Will Learn
- Combine multiple video layers and blend modes for seamless digital compositing
- Isolate complex subjects using precise masking and AI-assisted rotoscoping
- Execute professional chroma keying with spill suppression and edge cleanup
- Track moving objects using 2D point tracking and Mocha AE planar tracking
- Solve 3D camera movements to integrate elements into live-action footage
- Simulate dynamic particles, weather effects, and procedural fractal noise
- Utilise AI tools to write expressions, plan VFX breakdowns, and troubleshoot errors