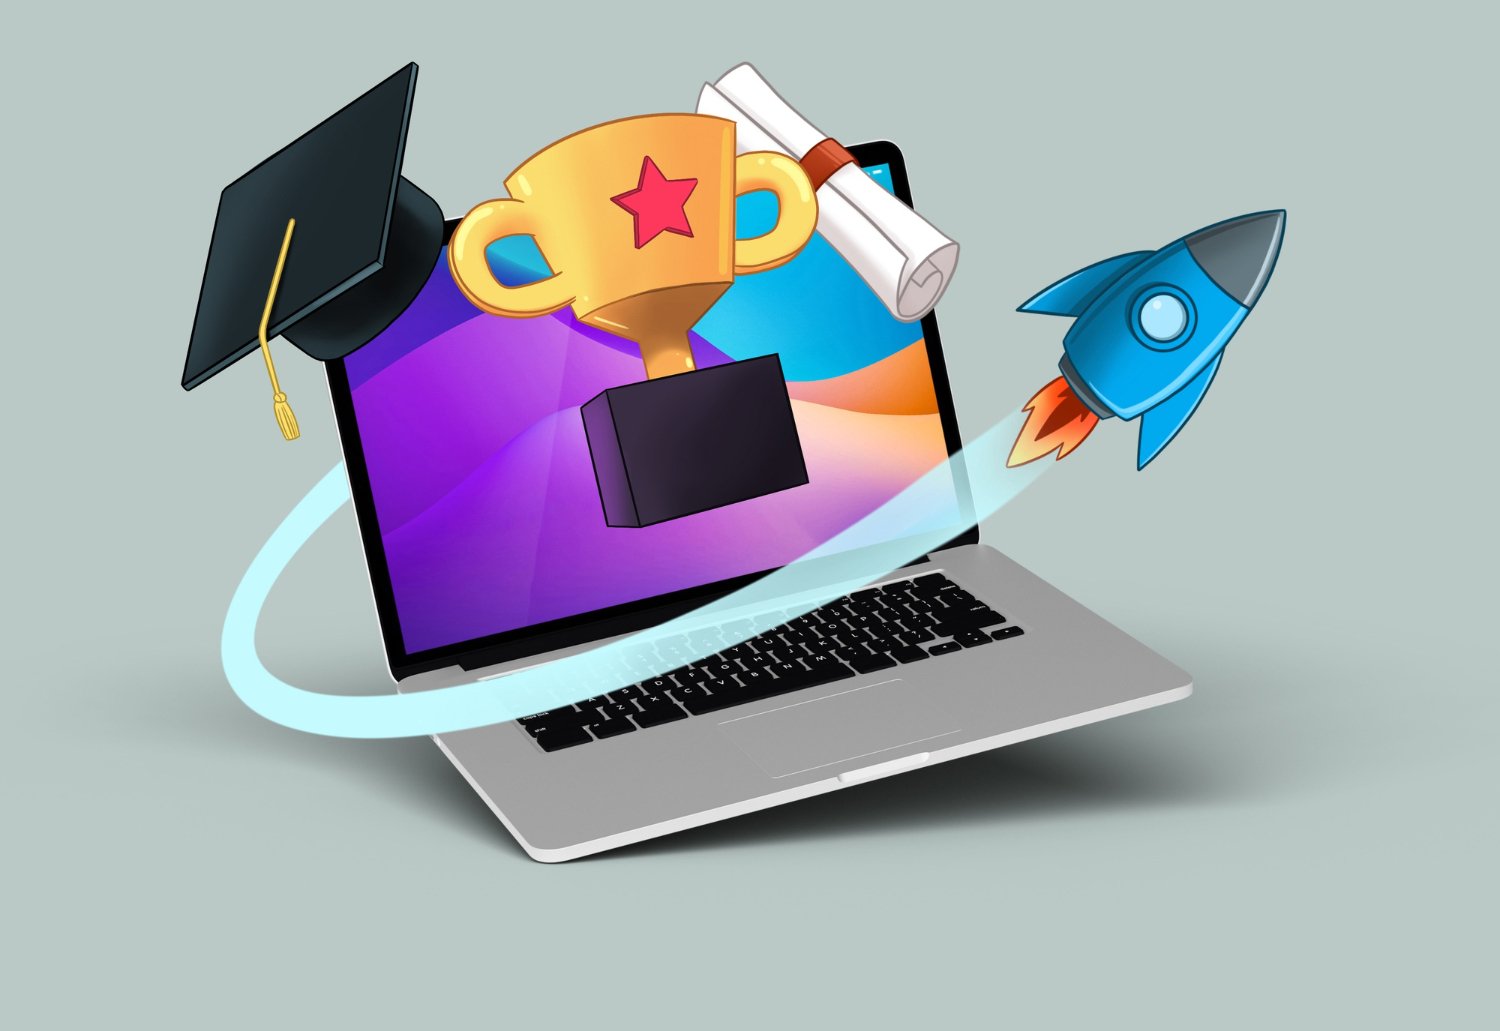
3D Digital Sculpting
Bring complex characters, creatures, and assets to life with organic, detailed sculpting techniques. Master the art of digital sculpting to create high-poly models that push the boundaries of creativity. Learn to use industry-standard tools to sculpt, paint, and prepare your creations for animation, 3D printing, or game engines.
Transform digital clay into high-fidelity 3D sculpts in our intensive 8-week course
Designed for 3D artists and animators, this comprehensive eight-week course on Seed LMS guides you step-by-step through Maxon ZBrush and Gemini AI workflows. You will build foundational skills in shaping digital clay, mastering organic anatomy, precision hard-surface modelling, and high-frequency detailing while establishing a professional sculpting pipeline. Beyond the core eight weeks, you’ll receive a full month of free, one-on-one mentorship to polish your sculpts, troubleshoot your topology in real-time, and confidently build your 3D portfolio. Choose from our curated pool of 10 exciting project briefs, refine your skills, and graduate with high-quality, portfolio-ready ZBrush turntables.
Course Outline
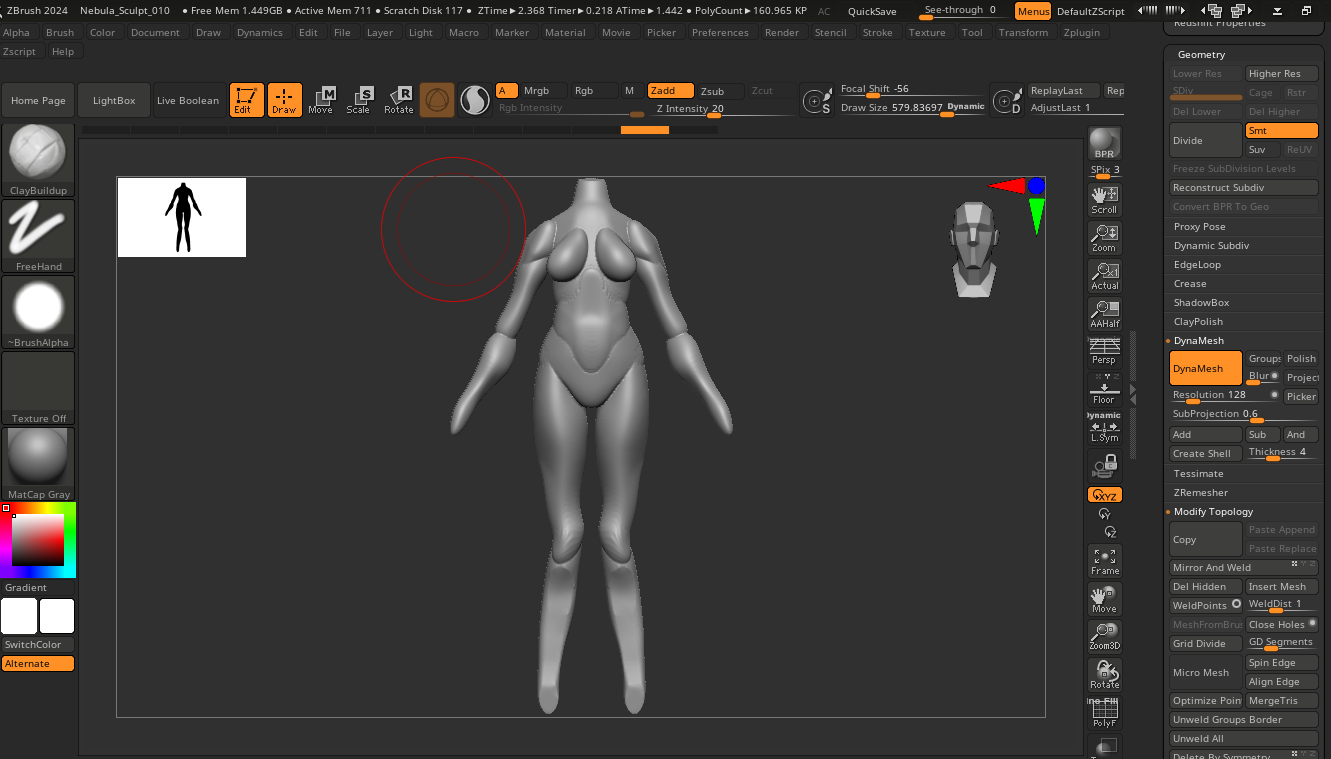
Week 1: Digital Clay – Interface & Dynamesh
Topic A: The 2.5D Canvas & Navigation
- The “LightBox”: Loading projects and tools.
- Navigation: Mastering Rotate, Zoom, and Pan (Right-click vs. Alt-click logic).
- The Canvas: Clearing the canvas (Ctrl+N) and dropping models into 3D mode (T).
Topic B: Dynamesh & Resolution
- The Concept: Why topology doesn’t matter (yet). Stretching clay infinitely.
- Resolution: Managing polygon counts for rough blocking vs. detailing.
- Symmetry: Activating and centring symmetry (X).
Topic C: The Primary Brushes
- Move: Manipulating large forms (The “Grab” tool).
- Clay Buildup: Adding volume and muscle mass.
- DamStandard: Cutting creases and sharp lines.
- Smooth: Relaxing the mesh (Shift).
Week 2: Subtools & Hard Surface Basics
Topic A: Subtools (The Layer System)
- Appending & Inserting: Adding eyes, teeth, or armour plates.
- Split & Merge: Separating parts of a mesh (e.g., cutting off a head).
- Gizmo 3D: Moving, scaling, and rotating individual subtools accurately.
Topic B: Masking & Selection
- Masking (Ctrl): Painting areas to protect them from sculpting.
- Polygroups: Grouping faces for easy selection (Ctrl+W).
- Clip & Trim Curves: Slicing through clay to create flat surfaces.
Topic C: ZRemesher (Basic)
- Auto-Retopology: Cleaning up messy Dynamesh geometry with one click for cleaner sculpting.
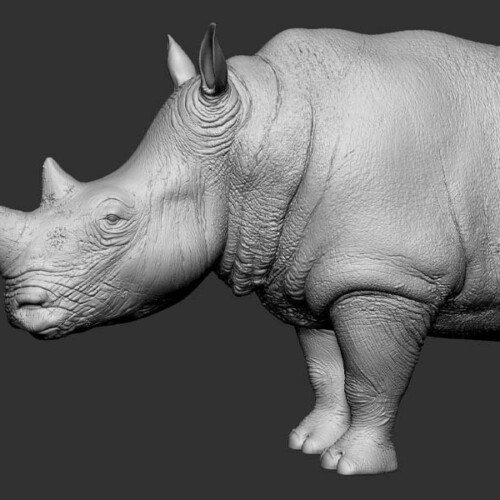
Week 3: Organic Anatomy – The Skull
Topic A: Primary Forms (The Block-out)
- Proportions: The “Rule of Thirds” for the face.
- Landmarks: Zygomatic arch (Cheekbone), Nasal cavity, and Mandible (Jaw).
Topic B: Secondary Forms (Muscles)
- Clay Tubes Brush: Layering muscle strips.
- Orbicularis Oculi/Oris: Understanding the muscles around the eyes and mouth.
Topic C: Refinement
- HPolish & TrimDynamic: Planar sculpting to define bone planes.
Week 4: ZModeler – The Hard Surface Machine
Topic A: ZModeler Brush
- QMesh: Extruding faces (similar to Maya/Blender Extrude).
- Bevel & Insert Loop: Adding support edges.
- Points, Edges, Polygons: Hover-based context actions.
Topic B: Dynamic Subdivision
- Creasing: Defining sharp edges that stay sharp when smoothed (Shift+D).
- Live Boolean: Combining shapes non-destructively (Add/Subtract).
Topic C: Primitives
- Initialise: Creating perfect cubes and cylinders with specific divisions.
Week 5: Advanced Detail – Alphas & Noise
Topic A: Alphas & Stencils
- DragRect: Placing specific details (e.g., a scar or button).
- Spray & Colour Spray: Randomising scatter for skin pores or dirt.
- Importing Alphas: Using custom black/white images as brushes.
Topic B: Surface Noise
- Noisemaker: Applying procedural noise (weave, concrete) to the entire model.
- Masking by Noise: Applying noise only to specific areas.
Topic C: Layers
- Non-Destructive Detail: Sculpting details on layers so they can be faded up/down (similar to Photoshop layers).
Week 6: Polypaint – Digital Painting
Topic A: RGB & Materials
- RGB Intensity: Controlling opacity.
- Material Fill: Filling the object with a base material (e.g., SkinShader or Metal).
- Standard Brush (RGB): Painting colour without sculpting height (ZAdd off).
Topic B: Painting Techniques
- Cavity Masking: Automatically masking the cracks to paint dirt in the crevices.
- Skin Variation: Painting “Zones of the Face” (Yellow forehead, Red cheeks, Blue chin).
Topic C: Texture Map Generation
- Creating Texture from Polypaint: Converting the painted vertex colour into a UV texture map.
Week 7: Optimization & The Pipeline
Topic A: ZRemesher (Advanced)
- Guides: Drawing curves to tell ZRemesher where to place edge loops (e.g., around the eyes).
- Polycount Targets: Reducing a 5 million poly sculpt to a 10k low-poly mesh.
Topic B: UV Master
- Unwrap: Automatically creating UVs inside ZBrush.
- Control Painting: Protecting the face from UV seams.
Topic C: Map Baking
- Normal Maps: Baking the high-detail sculpt onto the low-poly mesh.
- Displacement Maps: Exporting height data for rendering in Maya/Arnold.
Week 8: AI Workflow, Posing & Final Sprint
Topic A: Innovative AI Workflow (Using Gemini)
- The Concept Artist: Using Gemini to describe creatures or props to generate detailed text briefs for sculpting.
- Prompt Example: “Describe the anatomy of a Swamp Monster that is a hybrid between a man and a crocodile. Focus on the texture of the skin and the shape of the jaw.”
- Anatomy Reference: Asking Gemini for specific muscle attachments.
- Prompt Example: “Where does the Sternocleidomastoid muscle attach on the skull and clavicle?”
- Troubleshooting: Pasting ZBrush interface questions into Gemini.
Topic B: Transpose Master
- Posing: Moving the character from a T-Pose to a dynamic action pose without breaking the subtools.
Topic C: Turntable Render
- BPR (Best Preview Render): Creating high-quality renders inside ZBrush with shadows and ambient occlusion.
- Turntable Movie: Exporting a spinning video of the model.
Mentorship & Portfolio Polish
After eight weeks of core instruction, students enter a free 1-month mentorship delivered online via Discord. This phase shifts the focus from learning new tools to applying them to industry standards.
- Project Polish & Portfolio Building: Finish or redo your 2 required projects. High-quality submissions ensure better scores and a stronger portfolio.
- Weekly 1-on-1 Sessions: Each student is assigned a dedicated mentor for a personalised 30 to 60-minute weekly guidance session.
- Open File Reviews: Present open project files via live screen sharing for direct mentor critiques and feedback.
- Live Debugging: Join dedicated livestreams where instructors actively troubleshoot settings and fix your project errors in real-time.
- Final Premiere: Submit your fully rendered images or video for the Virtual Viewing Party to watch and critique final reels with the class.
- Certification & Next Steps: Complete the course evaluation and submit all final polished projects to finalise grading and unlock your Certificate of Completion.
What’s Inside?

1-on-1 Mentorship
One full month of dedicated expert guidance tailored to your specific goals.

Seed LMS Access
Lifetime access to the Student Portal, hosting all your modules and resources.
Weekly Interactive Quizzes
Test your skills and track progress with gamified assignments and feedback.

Official Certification
Validate your expertise with a digital certificate recognized by industry leaders.
What You Will Learn
- Generate anatomy briefs and conceptual reference using Gemini AI workflows
- Sculpt organic forms and muscle mass using Dynamesh and digital clay
- Construct precision hard-surface props and armour using ZModeler
- Apply high-frequency details like skin pores and textures using Alphas
- Paint base colours and realistic materials directly using Polypaint
- Optimize dense sculpts for production using ZRemesher and Map Baking
- Pose your models and render high-quality BPR turntables for your portfolio